Development Environment
The development environment, in this context, refers to the workspace and tools that you use to write, test, debug, and deploy your projects. A good development environment strives to help you be more productive and efficient. It should also provide you with the necessary tools to quickly iterate on your ideas and implement changes.
The final projects for this class should be generally developed and deployed on the class virtual machines. However, the same concepts described below could be applied to development locally on your own laptop, and / or deployment to cloud providers like AWS, Azure, or Google Cloud.
After going through this module, students should be able to:
Set up the files and folders necessary to work on the final project
Describe each component and why they are important to the overall system
Describe the general development cycle from a new idea all the way to production
Write targets for the major steps into a Makefile
Set up test and production deployment environments
Find and interpret logs for debugging purposes
Apply semantic versioning to code and container images
File Organization
Consider the DNA Sequence Classifier previously described in this class:
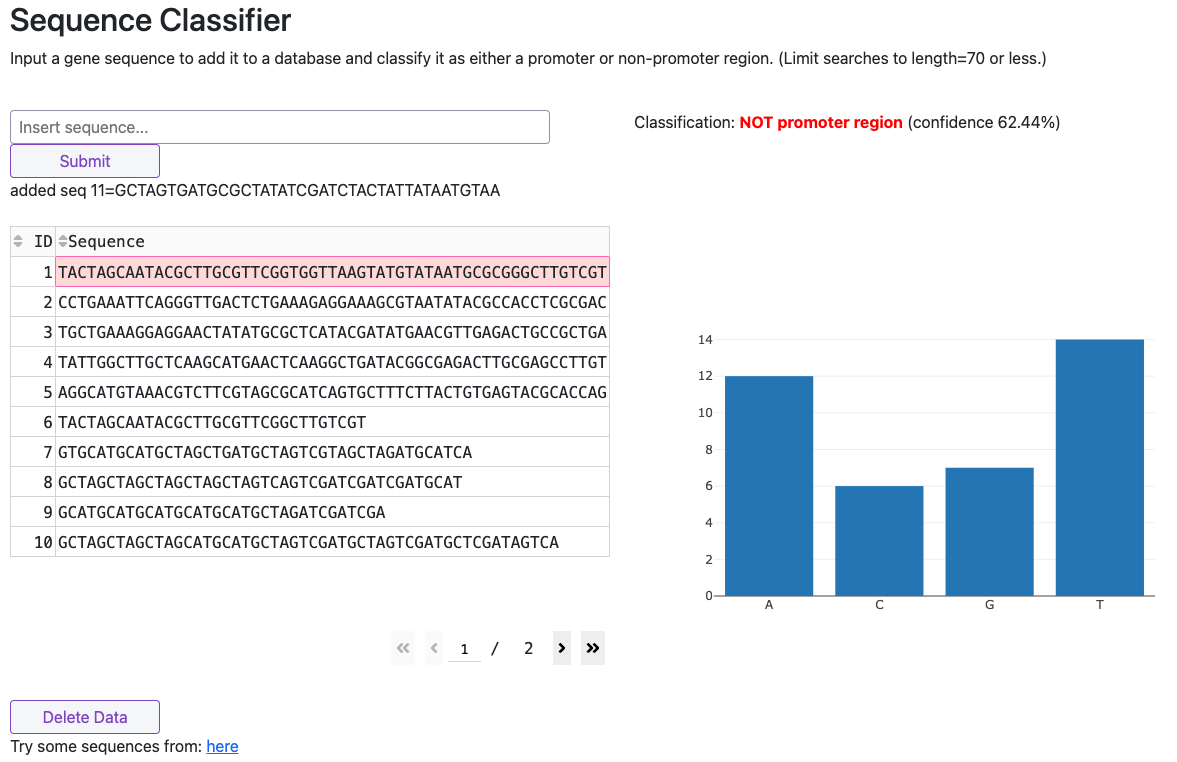
Sample dashboard
The project contains the following functionality:
A dashboard for users to upload sequences and view results
A database for storing and recalling uploaded sequences
A machine learning model for classifying sequences
An example file organization scheme for developing this project may look like:
dna-seq-classifier/
├── .gitignore
├── Dockerfile
├── README.md
├── app.py
├── docker-compose.yml
├── model/
│   ├── svm_linear_model.pkl
│   ├── svml_predict.py
│   ├── svml_train_model.py
│   └── train_cols.pkl
├── redis-data/
│   └── dump.rdb
└── requirements.txt
In this example, the file app.py is the main entrypoint to the dashboard. It is the standard name for
a plotly dash app. All of the logic for rendering the dashboard, interaction with the database, and
inference using the classifier model, are contained in that file.
The model/ subdirectory has four files:
svml_train_model.pywas used to train a model and write pickel filessvm_linear_model.pklis the pickeled model file that is used for inferencetrain_cols.pklis the pickeled file that contains the column names for the modelsvml_predict.pyis the script that loads the model and makes predictions - imported intoapp.pyand used for inference
The redis-data/ subdirectory is where the Redis database will store backup data in a file called
dump.rdb. It is mounted as a volume in the Redis container at runtime.
The requirements.txt file is a standard way to list all of the Python dependencies for the project.
We have explored a few different ways in this class, but currently this is probably the most universal
way to do it especially when dependencies are not too complicated.
The Dockerfile containerize the relevant source code for the dashboard along with all of its
dependencies. We don’t have a separate Dockerfile for the Redis container because it is just a stock
image from Docker Hub. The docker-compose.yml file is used to orchestrate the dashboard and
Redis containers together. It specifies how the two containers should be built, run, and connected.
The README.md file serves as the main point of documentation for the project. It should contain
instructions for the developer on how to deploy the project, and it should contain instructions for
the user on how to interact with the dashboard and interpret results.
Tip
Make sure to put your folders under version control and commit regularly as you work. Don’t save it all until the end.
QUESTIONS
Is the data set used to train the model part of this repository? Why or why not?
Should we commit
dump.rdbto GitHub? Why or why not?What other file might I want to include in
redis-data/?Is using a
requirements.txtfile a good idea? Are there better alternatives?What might be listed in the
.gitignore?What other notable files are not present?
EXERCISE
Set up a new directory on your class virtual machine with an organization scheme similar to the one
above. Ignore the model/ files for now, pull a sample Dockerfile from a
previous lesson, and
use the following for app.py:
1from dash import Dash, html
2
3app = Dash()
4server = app.server
5
6app.layout = [html.Div(children='Hello, Dash!')]
7
8if __name__ == '__main__':
9    app.run(host='0.0.0.0', port=8050, debug=True)
(We will use this as a starting point for setting up automations and CI/CD pipelines in the next several modules.)
Development Cycle
We previously talked at great length about why it is a good idea to containerize an app / service that you develop. Some of the main reasons include portability to other machines and reproducibility. In this class, development and deployment are generally done on the same virtual machine (on Jetstream), but this is not always the case in the real world. But, one drawback is that containerization is an added step in our development cycle.
The development cycle for a containerized app such as this tends to follow the form:
Edit some source code (e.g. add a new feature to the dashboard)
Delete any running container with the old source code
Re-build the image
Start up a new container
Test the new code / functionality
Repeat
This 6-step cycle is great for iterating on the frontend dashboard or the supporting back end code (e.g. ML model) either independently or simultaneously. However, watch out for potential error sources. For example if you stop the Redis container, the frontend dashboard may immediately break and will need to be restarted. Or, consider that the model is loaded into memory so any changes to the backend code will not be reflected in the running container until it is restarted.
Makefile Automation
Makefiles are a useful automation tool for building, running, testing, and pushing code for your projects. They are also useful to assign short keywords to long, frequently-used commands that you would otherwise need to type out. Now that our development cycle is becoming longer and more complicated, it is worth investing some time in Makefiles to speed up the development process. Here, we will set up a Makefile to help with the 6-step cycle above. Using certain keywords (called “targets”) we will create shortcuts to cleaning up running containers, re-building docker images, and running new containers.
Targets are listed in a file called Makefile in this format:
target: prerequisite(s)
        recipe
Targets are short keywords, and recipes are shell commands. For example, a common objective might be to list what containers are currently running on a certain port (e.g. port 8050), and format the output in a nice, readable way. The command to do this may become tedious to type out, so we can assign it to a target in a Makefile like this:
filter:
        docker ps --filter "expose=8050"  --format "table {{.Names}}\t{{.Image}}\t{{.Ports}}\t{{.Status}}"
Put this text in a file called Makefile in your current directory, then run the following in the
terminal:
[mbs337-vm]$ make filter
And that will list any the Docker container with the 8050 port exposed. Makefiles can be further abstracted with variables to make them a little bit more flexible. Consider the following Makefile:
PORT ?= 8050

filter:
        docker ps --filter "expose=${PORT}"  --format "table {{.Names}}\t{{.Image}}\t{{.Ports}}\t{{.Status}}"
Here we have added a variable PORT at the top so we can easily customize the
behavior. We can also create targets for building and running our containers. For example, the
following targets expand our current Makefile with functionality for building and running the dashboard
container, and a target for stopping all containers:
PORT ?= 8050
NAME ?= "username/project:tag"

filter:
        docker ps --filter "expose=${PORT}"  --format "table {{.Names}}\t{{.Image}}\t{{.Ports}}\t{{.Status}}"

build:
        docker build -t ${NAME} .

run: build
        docker run -d -p 8050:8050 ${NAME}

stop:
        docker stop $(shell docker ps -q)

all: stop build run
Note the syntax of the run target - it has a prerequisite of build, which means that the build
target will be run first before the run target is executed. This ensures that we are always running
the latest version of code in the current working directory.
Try some of the targets out in the terminal:
[mbs337-vm]$ make build
[mbs337-vm]$ make run
[mbs337-vm]$ make stop
Warning
Makefile syntax is expecting a tab character before the recipe, not spaces!
EXERCISE
Prepare a docker compose file for your project that orchestrates two containers: a redis database and a plotly dash frontend. Then, write a Makefile that, at a minimum:
Removes running containers in your namespace
Builds and runs new containers / services
Cycles through steps 1-2 listed above in one command
Note
Docker compose automates much of the build and run process for us. But the commands can be tedious to type. Makefiles can be used to automate any arbitrary command that is part of your development cycle.
EXERCISE
Plan and write a new feature for your dashboard. For example, download some sequence data as csv and display it in a table in the dashboard. To get started, consider the following code:
 1from dash import Dash, html
 2import dash_ag_grid as dag
 3import pandas as pd
 4
 5app = Dash()
 6server = app.server
 7
 8df = pd.read_csv('https://archive.ics.uci.edu/ml/machine-learning-databases/molecular-biology/promoter-gene-sequences/promoters.data')
 9
10app.layout = [
11    html.Div(children='Hello, Dash!'),
12    dag.AgGrid(
13        rowData=df.to_dict('records'),
14        columnDefs=[{"field": i} for i in df.columns]
15    )
16]
17
18if __name__ == '__main__':
19    app.run(host='0.0.0.0', port=8050, debug=True)
How would you go about putting this new code in a container and make it available for testing? What other considerations should be made to get this to work in a container?
Test and Production Deployments
Often when you are working on a project that is in “production” (like a dashboard that is live on the web) but you are adding new features quickly, it is a good idea to have a separate test or “staging” deployment that allows you to see and test new code changes before they are live to everyone else.
One simple way to test your changes in is to deploy them onto another port on the same virtual machine - for example port 8051 instead of 8050. To do this in practice, simply change the port number in your Docker compose file. Even better, write a second Docker compose file for your staging environment that is identical to the production environment except for the port number(s).
After verifying that the staging deployment looks good, then it is generally safe to deploy into production.
EXERCISE
Write a new Docker compose file for your staging environment, and add new Makefile targets to build and deploy to staging.
Container Logs
When you are developing and testing your code, it is inevitable that you will encounter errors. When this happens, it is important to know how to find and interpret logs to debug the problem. For example, if your dashboard container is not displaying or working as expected, you should know how to check the container logs. First identify the container ID with the following command:
[mbs337-vm]$ docker ps
If the containers are exited because an error caused them to crash, you may need to:
[mbs337-vm]$ docker ps -a
Then, use the name or ID of the container to check the logs:
[mbs337-vm]$ docker logs <container_name_or_id>
EXERCISE
Introduce an error into your dashboard app.py.
First try a SyntaxError - what happens when you try to deploy in a container? Can you find the corresponding log?
Next try something more subtle - e.g. put a typo in the path to the download data or remove one of the import statements at the beginning. What type of error is raised?
Versioning
We have not spent much time discussing versioning in this class other than to see do not use the tag ‘latest’ when versioning your repos or Docker images. There is a well-accepted standard for versioning called ‘Semantic Versioning’. It follows the specification:
Given a version number MAJOR.MINOR.PATCH, increment the:
MAJOR version when you make incompatible API changes,
MINOR version when you add functionality in a backwards compatible manner, and
PATCH version when you make backwards compatible bug fixes.
You can assign a tag to the current state of a repository on the command line by doing:
[mbs337-vm]$ git tag -a 0.1.0 -m "first release"
[mbs337-vm]$ git push origin 0.1.0
Tip
Do you have a new software system that just kind of works and has a little bit of functionality, but you don’t know what version tag to assign it? A good place to start is version 0.1.0.