Continuous Deployment
Continuous Deployment is the practice of automatically releasing your code or project to the end users, provided that it passes all tests. As mentioned, normally it is a good idea to deploy to a staging environment (e.g. port 8051) before deploying to production, so that a human in the loop can do one final check that everything is working as expected. However the key point of this process is to help ensure the latest components are available to other users in production as quickly as possible and in an automated way to reduce errors.
After going through this module, students should be able to:
Set up a GitHub Action for building and pushing a Docker image to the GitHub Container Registry
Trigger the GitHub Action by pushing a new tag to GitHub
Use Ansible to deploy a version of the application on a remote server independent of the code base
Build an Image for the GitHub Container Registry
Rather than commit to GitHub AND push to a container registry like Docker Hub each time you want to release a new version of code, you can set up an integration between the two services that automates it. The key benefit is you only have to commit to one place (GitHub), and you can be sure the image in your container registry will always be in sync.
Note
The content below works similarly on Docker Hub, or the GitHub Container Registry. If setting up this integration for Docker Hub, you will need to add a step to inject Docker Hub credentials into the workflow via secrets. For example, see this link.
Consider the following workflow, which may be written to .github/workflows/push-to-registry.yml:
 1name: Publish Container Image
 2
 3on:
 4  push:
 5    tags:
 6      - "*"
 7
 8jobs:
 9  push-to-registry:
10    runs-on: ubuntu-latest
11    permissions:
12      contents: read
13      packages: write
14      attestations: write
15      id-token: write
16
17    steps:
18      - name: Check out the repo
19        uses: actions/checkout@v4
20
21      - name: Log in to the Container registry
22        uses: docker/login-action@v4
23        with:
24          registry: ghcr.io
25          username: ${{ github.actor }}
26          password: ${{ secrets.GITHUB_TOKEN }}
27
28      - name: Extract metadata (tags, labels) for container
29        id: meta-data
30        uses: docker/metadata-action@v5
31        with:
32          images: ghcr.io/${{ github.repository }}
33
34      - name: Build and push image
35        uses: docker/build-push-action@v5
36        with:
37          context: .
38          push: true
39          file: ./Dockerfile
40          tags: ${{ steps.meta-data.outputs.tags }}
41          labels: ${{ steps.meta-data.outputs.labels }}
This workflow is triggered when a new tag is pushed (tags: - '*'). In contrast to testing on
every push, it makes sense to build and tag containers more selectively, because we would prefer if
tagged containers can be traced back to specific tagged versions of code.
This workflow sets a few permissions near the beginning which are required for building an image.
As in the previous workflow, this one also runs on an ubuntu-latest environment.
Then, among the fours steps, it uses the docker/login-action to log in to GitHub Container
Registry (GHCR) Hub on the command line. The username and password are taken out of the environment.
Certain variables, including secrets.GITHUB_TOKEN are automatically part of the environment for
every GitHub Action Workflow.
Finally, the workflow uses the docker/metadata-action to extract tags and the repository name to
assign to the name of the container image, and uses docker/build-push-action to build and push
the container to the GHCR.
Tip
Don’t re-invent the wheel when performing GitHub Actions. There is likely an existing action that already does what you’re trying to do.
Trigger the Integration
To trigger the build in a real-world scenario, make some changes to your source
code, push your modified code to GitHub and tag the release as X.Y.Z (whatever
new tag is appropriate) to trigger another automated build:
[coe332-vm]$ git add *
[coe332-vm]$ git commit -m "added a new feature to do something"
[coe332-vm]$ git push
[coe332-vm]$ git tag -a 0.1.1 -m "release version 0.1.1"
[coe332-vm]$ git push origin 0.1.1
By default, the git push command does not transfer tags, so we are explicitly telling git to push the tag we created (0.1.1) to GitHub (origin).
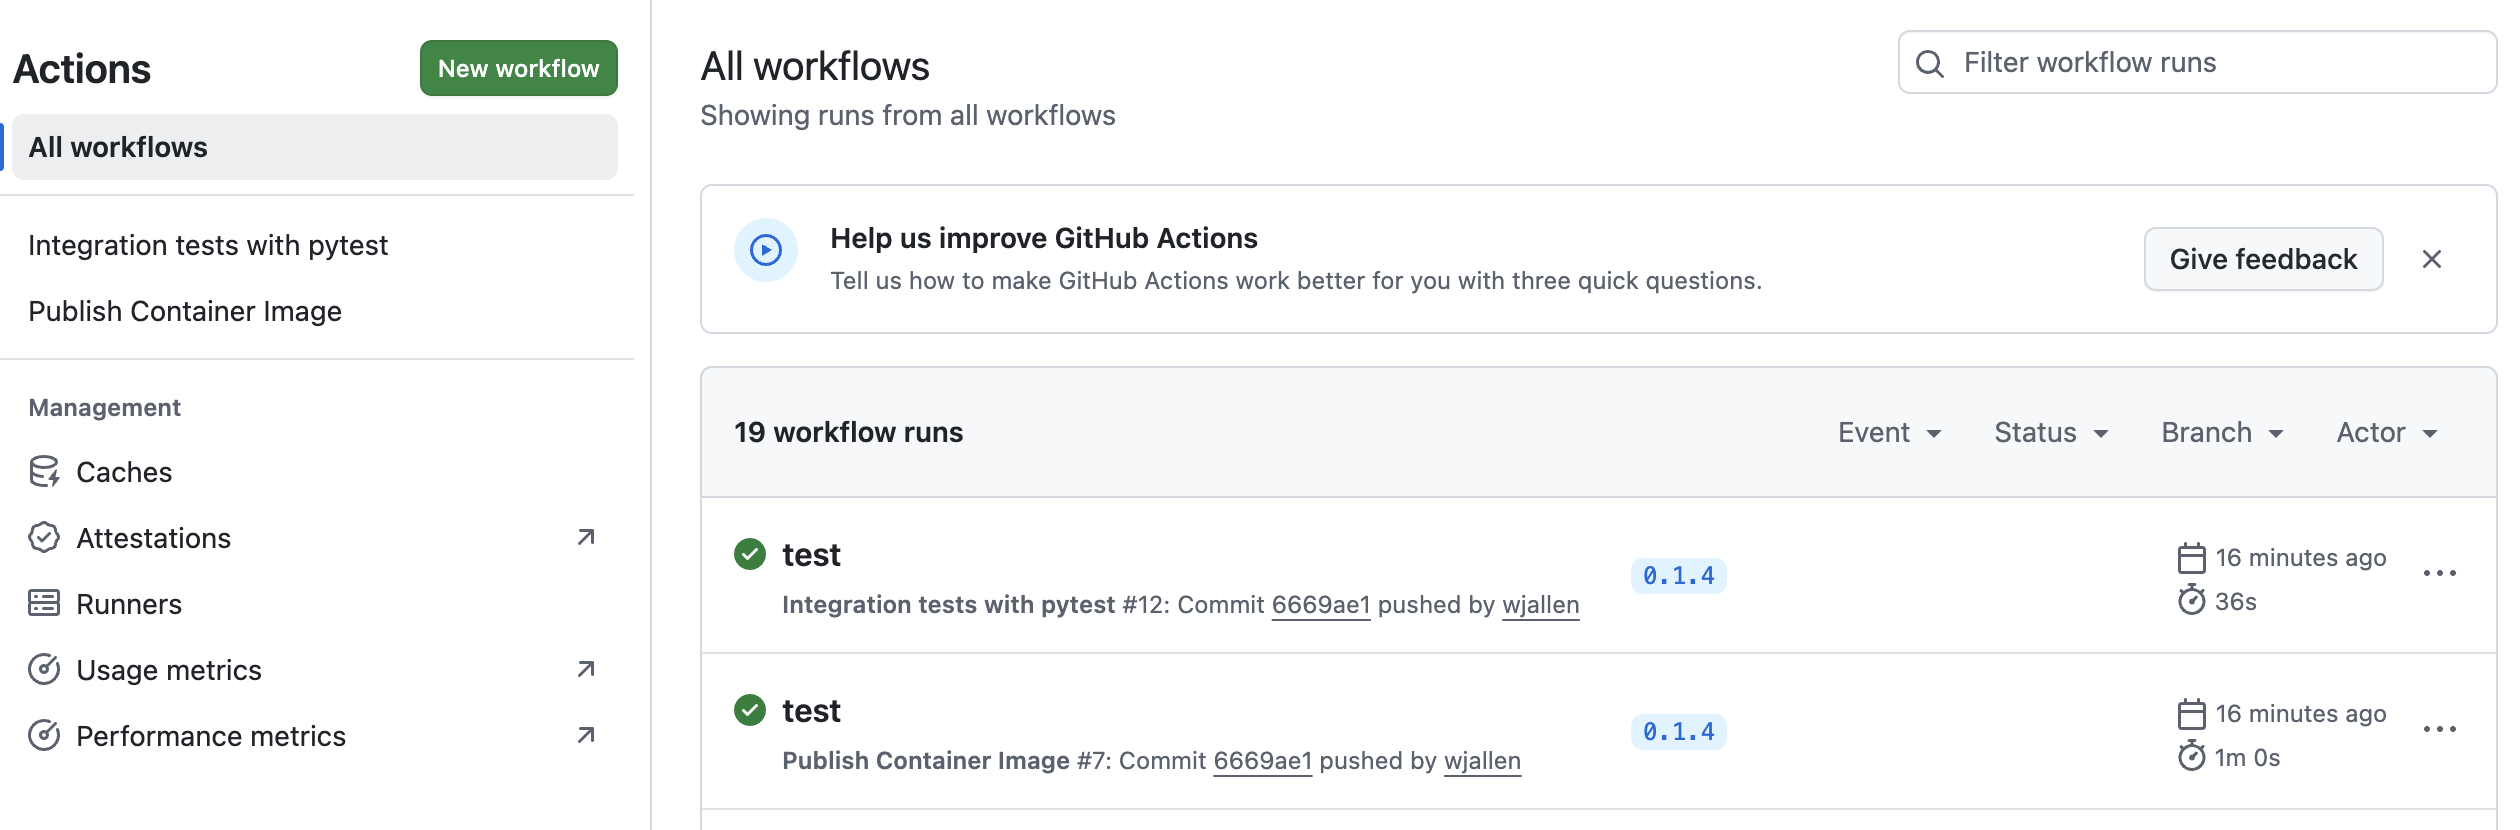
Now, check the online GitHub repo to make sure your change / tag is there, and check the Actions tab to monitor the status of your build.
New tag automatically pushed.
If successful, the resulting container images can be found by navigating to your GitHub Profile and clicking the Packages tab near the top center. That image can be pulled using the Docker commandline interface:
[mbs337-vm]$ docker pull ghcr.io/USERNAME/IMAGE:TAG
# e.g.:
[mbs337-vm]$ docker pull ghcr.io/wjallen/dash-test:0.1.0
With container images stored in a web-accessible container registry, you can now deploy code and projects independent of the codebase itself. This is great for arbitrary cloud deployments orchestrated with tools like Kubernetes or Ansible.
Ansible
Ansible is a great tool for automating complex or repetetive tasks anywhere - even on remote virtual machines. For example, imagine you have a web dashboard consisting of multiple containerized components. Docker compose is great for orchestrating the containers - but there are many other considerations when working in a brand new virtual machine. How will you make sure Docker is even installed? And the necessary containers or source code are available to the machine? And the ports are correctly proxied so that the dashboard is visible to the outside world? And all of the other latest versions of packages and security updates are installed so your virtual machine is secure?
Ansible enables us to write a “playbook” for launching our web apps from start to finish. It runs consistently everywhere, can very easily be set up to support staging and production environments, and it is self-documenting, much like a Dockerfile.
Install Ansible
Simply:
[mbs337-vm]$ pip3 install ansible
Consider that ansible is agentless, meaning it can communicate and perform actions on remote virtual machines without having to install any applications or services. So in practice, you may find that you ultimately install ansible on your own laptop, and manage your virtualized dashboards on remote VMs from there.
[local]$ pip3 install ansible
The next steps will assume you are running ansible from your local laptop, and your class virtual machine is the remote host (you need to know the IP).
Create an Inventory
The inventory is a list of hosts - typically IP addresses - for virtual machines that you have provisioned and you have access to. You should have prepared:
The IP address of the host
The username you use to log in to the host
SSH key authentication for logging in to the host
Write the inventory into a inventory.ini file:
[myhosts]
129.114.123.456
Then try using the ansible CLI to ping the hosts in your inventory:
[local]$ ansible -m ping -i inventory.ini -u ubuntu --key-file ~/.ssh/id_ed25519 myhosts
129.114.123.456 | SUCCESS => {
    "ansible_facts": {
        "discovered_interpreter_python": "/usr/bin/python3.12"
    },
    "changed": false,
    "ping": "pong"
}
The command line options are:
ansible -m ping: run the ansible ping module-i inventory.ini: a pointer to your local inventory file-u ubuntu: the username you use to log in to your host--key-file ~/.ssh/id_ed25519: the private key you use to log in to your hostmyhosts: the group name from your inventory file
A SUCCESS message above means ansible is able to reach your host and will be able to manage it.
Write a Playbook
A very simple first playbook from the ansible documentation is as follows:
- name: My first play
hosts: myhosts
tasks:
 - name: Ping my hosts
   ansible.builtin.ping:

 - name: Print message
   ansible.builtin.debug:
     msg: Hello world
Save the above into a file called “playbook.yaml”. It performs two steps on your hosts labeled “myhosts” in your inventory. Step one is a ping (as we saw previously), and step two is to echo a message to standard out - “Hello world”. Ansible uses builtin macros for almost every function or command one could imagine - from making a folder to cloning a git repo to starting containers and anything in between. The Ansible documentation has an extensive library of macros.
To run the playbook, execute:
[localhost]$ ansible-playbook -i inventory.ini -u ubuntu --key-file ~/.ssh/id_ed25519 playbook.yaml
Another key concept of ansible is idempotence. In computer science, this is the property whereby an action can be applied multiple times (e.g. an ansible playbook), but it won’t have any additional effect on the system beyond the first time. In other words, you can play a playbook with ansible to start your containers the first time. If you call the exact same playbook again, it will see that the containers are already started and will make no change. In this way, ansible can be used not only to manage your services, but to verify that they are working as expected.
Next Steps
Update the playbook to clone your Git repository and use docker compose to start your dashboard container(s)
Modify the scheme to support staging and production environments